Floor Preparation

STEP 1:
Wash the floor using a degreasing solution. Rinse the floor until it’s clean. If the floor is particularly dirty, is very smooth or power floated, then it must be either mechanically abraded or treated with Regal Clean and Etch.

STEP 2:
To check whether the Regal Clean and Etch has worked pour water onto the concrete to see if it absorbs. If the water beads on the surface, you will need to repeat the etching process.
STEP 3:
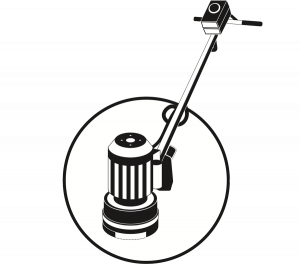
Areas of the floor that show imperfections will show through the final coat. Imperfections must be sanded, scraped or grinded to achieve a smooth surface. Brush or vacuum the residue off the floor, along with any existing flaking paint.

STEP 4:
If there are any holes or cracks in the concrete, fill them using a trowel and patch compound. Let it dry before continuing.

STEP 5:
It may be necessary to “cut in” the edges of the walls / pillars and posts/doorways with a hand paint brush first. This will reduce the chance of paint splatter from your floor roller. However, experienced contractors may feel they can skip this process.
STEP 6:
Apply one or two coats of top coat using a floor roller. Allow a full 24 hours between coats and a minimum of 48 hours after finishing the final coat, before any vehicles or heavy machinery is allowed onto the floor.
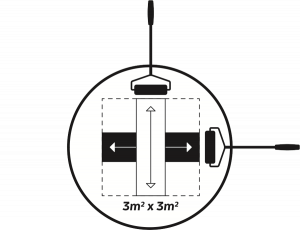
For larger floors it is better to divide the floor into square patches, of approximately 3 x 3 metres. This allows you to roller the paint initially in one direction, and then from the side at 90 degrees. Back rollering in the other direction will avoid roller marks and achieve a better finish.
STEP 7:
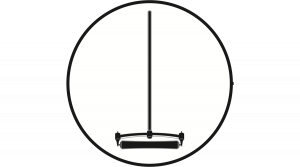
An optional final coat can be added of Regal Clear Finish. Regal Clear Finish will protect the paint and add an attractive glass gloss finish to the floor. Glitter or paint flakes may be added to the Regal Clear Finish to give an extra cosmetic dimension to the floor. Apply with a floor roller and wait 24 hours for the paint to dry.
