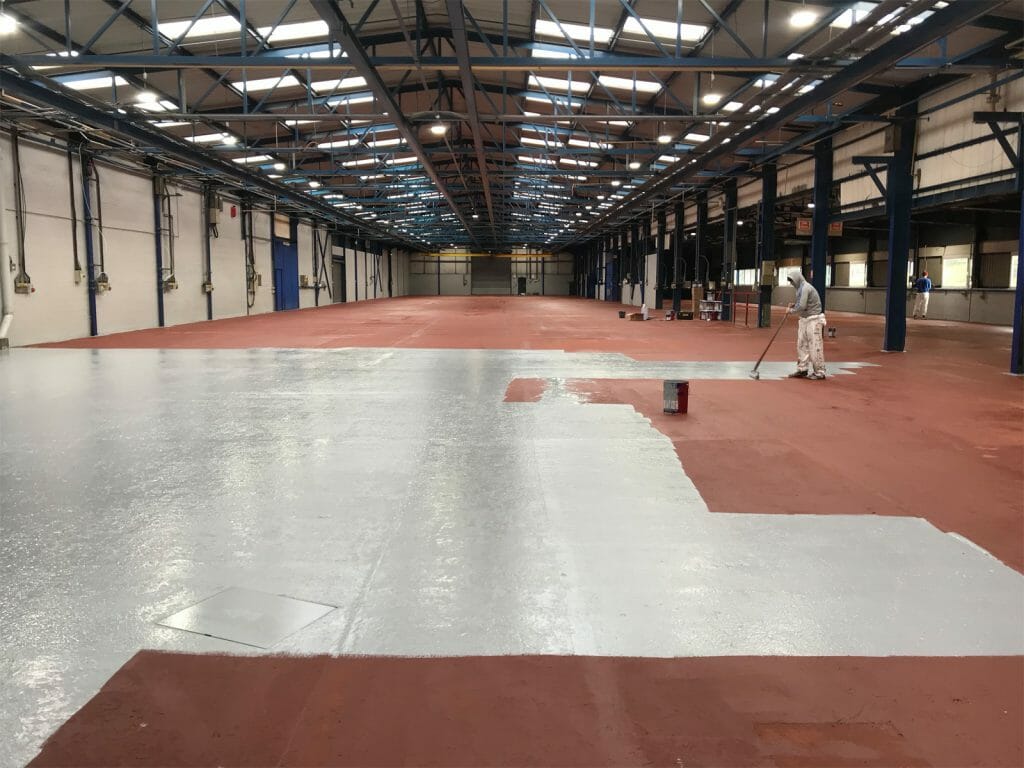
Floor Preparation

STEP 1:
Wash the floor using a degreasing solution. Rinse the floor until it’s clean. If the floor is particularly dirty, is very smooth or power floated, then it must be either mechanically abraded or treated with Regal Clean and Etch.
STEP 2:
To check whether the Regal Clean and Etch has worked pour water onto the concrete to see if it absorbs. If the water beads on the surface, you will need to repeat the etching process.
STEP 3:
Areas of the floor that show imperfections will show through the final coat. Imperfections must be sanded, scraped or grinded to achieve a smooth surface. Brush or vacuum the residue off the floor, along with any existing flaking paint.

STEP 4:
If there are any holes or cracks in the concrete, fill them using a trowel and patch compound. Let it dry before continuing.

STEP 5:
It may be necessary to “cut in” the edges of the walls / pillars and posts/doorways with a hand paint brush first. This will reduce the chance of paint splatter from your floor roller. However, experienced contractors may feel they can skip this process.
Things to Note Before Using 2 Pack Floor Paint
Drying Time 24hrs (Per Coat)
The sealer will usually be ready for topcoating after 24 hours. However, it is important to test the sealer before topcoating to ensure it is fully dry. If the sealer is still soft or sticky, then a topcoat could entrap solvent in the sealer.
5°C Minimum Floor Temperate
It is always better to apply floor coatings in the morning, this ensures that they have the warmest temperatures to begin curing. It is very important to ensure that the temperature of the substrate is above 5 degrees C. Below this temperature the epoxy will not begin to activate. does necessarily translate to the same in floor temperature.
PLEASE REMEMBER THAT ONCE MIXED, EPOXY PAINTS HAVE A POT-LIFE OF APPROXIMATELY 3-4 HOURS. THE CURING PROCESS STARTS WHEN THE ACTIVATOR IS ADDED TO THE BASE. IT WILL GO HARD IN THE CAN IF YOU DO NOT USE IT STRAIGHT AWAY.
Floor Preparation
STEP 6:
Ensure the different epoxy coats (ie sealer or topcoat) are separated to ensure the correct activators are assigned to the correct paint base. Pour the activator into the paint base and mix.
STEP 7:
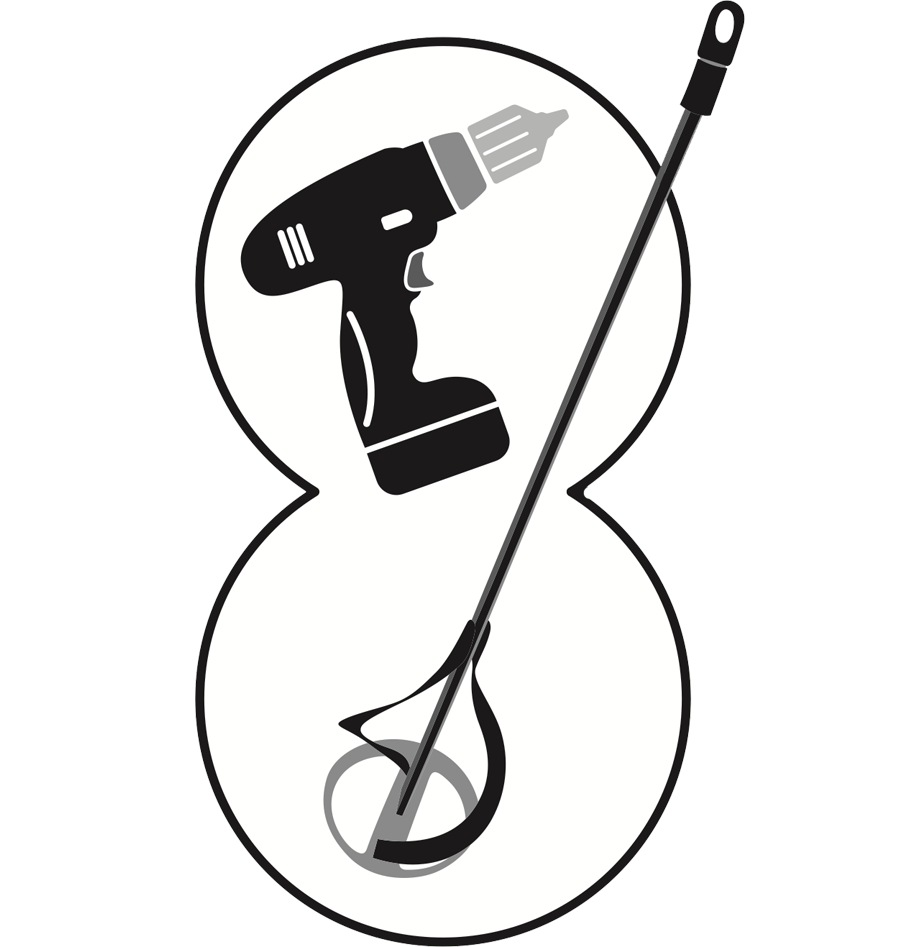
Mix the two components together with an electric drill fitted with a mixer paddle. It is important to thoroughly mix the two components together. This will ensure that the heavier ingredients, which may settle to the bottom of the can, are combined evenly through the can.
The mixing processes in all two pack epoxies, i.e. sealer/primer/topcoats are the same.
STEP 8:
After you are satisfied that the two components are completely mixed, let the can sit /sweat for approx. 10 minutes. This is called the induction period, allowing the activator and the base to begin working together and reducing the possibility of air bubbles in thicker coats.
STEP 9:
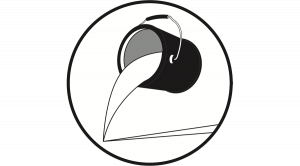
Pour out the sealer coat onto the floor in a thin line. Roller this thin line of paint using a floor roller.
STEP 10:
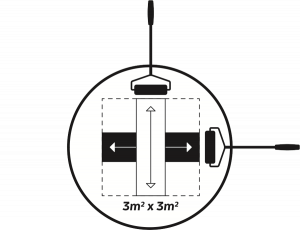
For larger floors it is better to divide the floor into square patches of approximately 3 x 3 metres. This allows you to roller the paint initially in one direction and then from the side at 90 degrees. Back rollering in the other direction will avoid roller marks and achieve a better finish.
Once the sealer coat is dry, apply one or two coats of the 2 pack epoxy floor paint (topcoat) or high-build epoxy garage floor paint. The mixing procedure for the topcoat is exactly the same as for the sealer. The pouring and rollering procedures are also exactly the same. It is advisable to leave the floor for a minimum of 48 hours after top-coating before working on or operating machinery on the floor.
